How to Reverse a Video in CapCut: A Complete Guide
Reversing a video is one of the most fun and creative video editing techniques you can apply to make your content stand out. Whether you’re making a cool music video, a funny TikTok, or a YouTube clip with a dramatic twist, reversing your video can add a unique element. CapCut, a free and easy-to-use video editing app, allows you to reverse videos quickly and efficiently with just a few simple steps.
Why Reverse a Video?
Reversing a video can be used for a variety of creative purposes. Here are some common reasons why people use this effect:
1: Creative Effects: Reversed videos often look visually intriguing and can add an artistic touch to your content. It’s a popular effect used in music videos, vlogs, and social media content.
2: Funny Edits: Reversing a video clip of someone performing an action, like dancing, jumping, or drinking, can make the scene appear comical.
3: Slow Motion Feel: By reversing slow-motion footage, you can create a different sense of drama or excitement.
4: Highlighting Key Moments: Reversing footage of an important or dramatic event can emphasize its significance.
How to Reverse a Video in CapCut: Step-by-Step Guide
Reversing a video in CapCut is quick and straightforward. Here’s how you can do it:
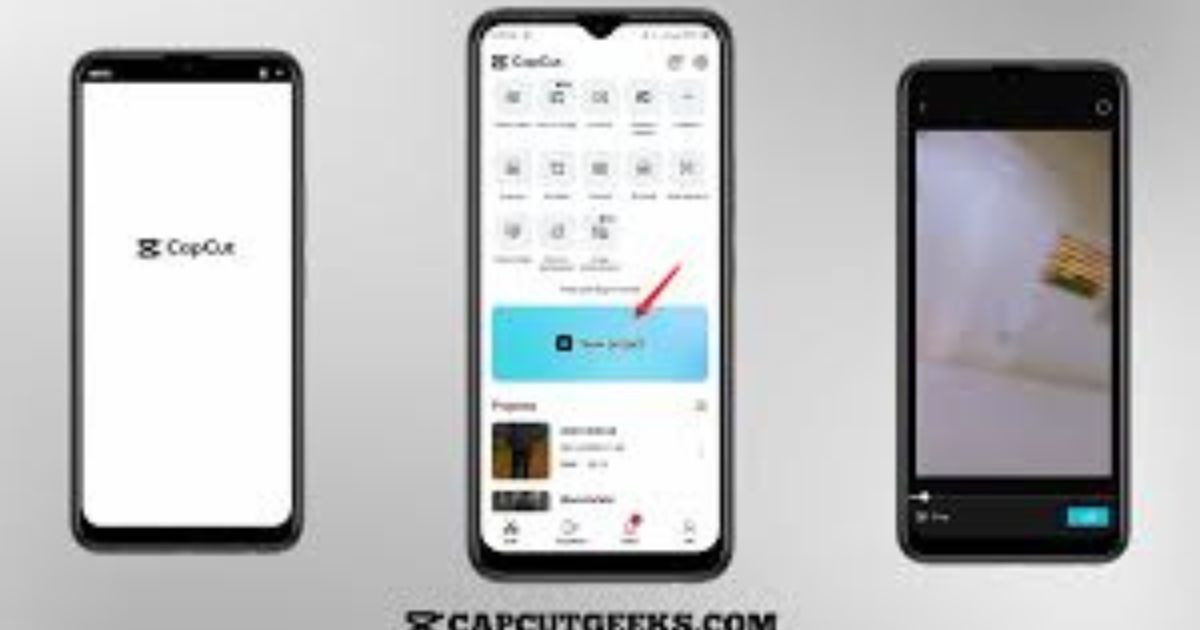
1: Install and Open CapCut
If you haven’t already installed CapCut, you can download it for free from the App Store or Google Play Store. For desktop users, CapCut also has a PC version available for download.
Once you’ve installed CapCut, open the app and start a new project by tapping New Project.
2: Import Your Video
After opening a new project, you need to add the video you want to reverse.
- Tap Add to choose the video clip from your gallery or file storage.
- Your video will appear on the editing timeline, ready to be edited.
3: Select the Video Clip
Once the video is imported into the timeline, tap on the video clip. This will open the editing options for that particular clip.
4: Apply the Reverse Effect
- With the video selected, scroll through the bottom toolbar to find the Speed option.
- Tap on Speed, and you’ll see a list of options for adjusting the speed of your video.
- Look for the Reverse button, usually located below the speed options. Tap on Reverse to apply the effect.
- CapCut will automatically reverse your video clip, and you’ll see the result immediately. It’s that simple!
5: Adjust the Length of the Reversed Clip
If you only want to reverse a certain part of your video, you can easily trim the clip first.
- Use the Trim tool to cut the video into the desired length.
- Then, apply the reverse effect to the section you want to reverse.
- You can also adjust the length of the video by sliding the edges of the clip on the timeline.
6: Preview and Fine-Tune the Reversed Video
Once the reverse effect is applied, preview your video by tapping the Play button.
- Watch for any areas that might need tweaking.
- If the reverse effect doesn’t look smooth, you can adjust the speed or trim the clip further to perfect it.
- Sometimes, the reversal might not align with the original pacing, so feel free to experiment with additional tweaks.
7: Export Your Reversed Video
Once you are satisfied with the reversed video, it’s time to export it.
- Tap the Export button in the upper-right corner.
- Choose your desired video resolution (1080p is the most common for most platforms) and set the quality.
- Click Export again, and your reversed video will be saved to your device, ready to upload or share.
Additional Tips for Enhancing Your Reversed Video
- Add Music or Sound Effects: Adding the right music or sound effects can amplify the impact of your reversed video. Choose upbeat music for fun effects, or dramatic sounds for a more intense result.
- Combine with Other Effects: Experiment with other video effects like slow motion, fast motion, or filters to enhance your reversed clip even more.
- Use Transitions: Smooth out the beginning or ending of your reversed video by adding transitions, which can make the effect look more polished.
- Use Multiple Clips: You can reverse multiple clips in one project to create a seamless, engaging video. Experiment with different combinations for a unique look.
Common Problems When Reversing Videos in CapCut
- Laggy or Slow Playback: If your video plays back slowly after applying the reverse effect, it could be due to the video resolution or the length of the clip. Try lowering the video resolution during export or trimming unnecessary parts from the clip.
- Audio Sync Issues: When reversing a video, the audio may sound out of sync. If this happens, consider muting the audio and adding a new soundtrack or sound effects.
- Not Reversing the Correct Part: If you accidentally reverse the entire video when you only wanted part of it, simply split the video into sections using the Split tool before applying the reverse effect to the desired segment.
Conclusion
Reversing videos in CapCut is a fantastic way to add creative flair to your content. Whether you’re creating fun social media videos, music visuals, or unique content for YouTube, the reverse effect can help your video stand out. CapCut makes this process incredibly simple with its easy-to-navigate interface, giving both beginners and experts the ability to create professional-looking content effortlessly.
By following the steps outlined above, you can start reversing your videos today, experiment with new creative ideas, and enhance your editing skills. Whether you’re using the reverse effect for humor, artistic purposes, or just to highlight specific moments, CapCut provides all the tools you need to make your videos shine.
FAQs
1: Can I reverse part of a video in CapCut?
Yes! You can trim the video and apply the reverse effect to only a specific section of the clip.
2: Can I reverse audio in CapCut?
No, CapCut doesn’t allow you to reverse audio separately. However, you can mute the audio of the reversed video and add new sound effects or music.
3: Does reversing a video in CapCut affect the quality?
Reversing a video doesn’t typically affect its quality. However, exporting at a lower resolution might result in lower video quality.
4: Can I reverse videos with sound?
Yes, you can reverse videos with sound, but keep in mind that the audio will also be reversed. You may need to adjust or mute the sound and add a new soundtrack for a better effect.
5: Is CapCut free to use?
Yes, CapCut is completely free to download and use, with no hidden fees or subscription required.
6: Can I reverse videos on CapCut for PC?
Yes, the CapCut desktop version also allows you to reverse videos in the same easy way as on the mobile app.


