Introduction
Video editing has become more accessible and creative, thanks to platforms like CapCut. Among the many tools and templates it offers, the “Healing” template has gained attention for its ability to enhance videos with unique effects. Whether you’re creating a personal vlog, promotional content, or a social media post, the Healing CapCut template can help you add a professional touch with minimal effort. In this article, we’ll explore how to use the Healing CapCut template to create stunning video effects.
What is the Healing CapCut Template?
CapCut is a popular video editing app that provides users with an easy way to create and edit videos with various effects, transitions, and templates. The Healing CapCut template is one of the app’s most sought-after features. It offers a set of dynamic visual effects that are designed to give your videos a polished and artistic feel
Why Use the Healing CapCut Template?
Before diving into the specifics of using the Healing template, it’s essential to understand why it’s such a popular tool among creators. Here are some reasons why you might want to consider using it for your next video project:
Easy to Use
The Healing CapCut template is user-friendly, meaning you don’t need to be a professional video editor to make your videos look amazing. With just a few clicks, you can apply stunning effects that will make your content stand out.
Unique Visual Appeal
The template provides a soft, smooth visual effect that adds a unique and professional flair to your videos. Whether it’s for personal use or business content, the effect elevates the overall quality of the video.
Time-Saving
If you’re short on time and need a quick way to enhance your footage, the Healing template is a perfect solution. It automatically applies a set of effects, saving you hours of manual editing.
Versatility
The Healing template works well with different types of videos—whether you’re working with fast-paced clips, slow-motion scenes, or even still images. This makes it an all-around tool for any video project.
Step-by-Step Guide to Using the Healing CapCut Template
Now that you know what the Healing CapCut template is and why it’s beneficial, let’s dive into how to use it in your videos. Follow these simple steps to get started:
1. Download and Open CapCut
First, you need to download the CapCut app from the App Store (for iOS users) or Google Play Store (for Android users). Once downloaded, open the app on your device.
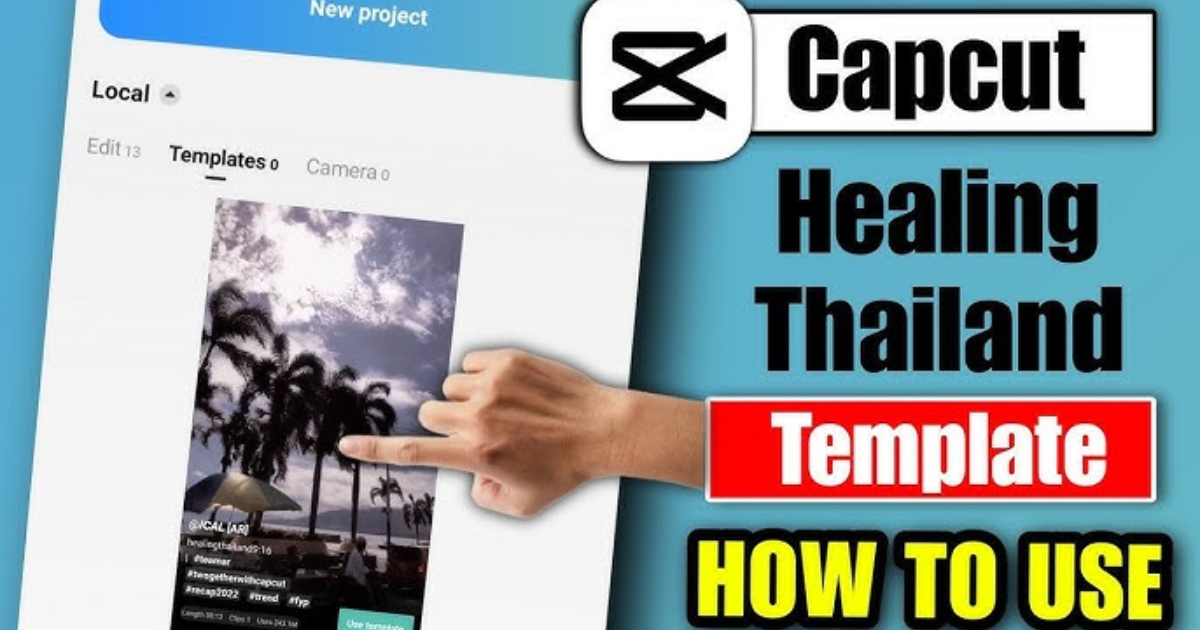
2. Start a New Project
- Tap on the “+ New Project” button to create a fresh video project.
- Select the video clips or images you want to use in your project. These can be clips from your gallery or any footage you’ve shot specifically for the video.
3. Access the Templates Menu
- After selecting your clips, tap on the “Templates” button, usually located on the main editing screen.
- Browse through the different template categories until you find the Healing template. It may be under a section labeled “Effects” or “Trending.”
4. Apply the Healing Template
- Tap on the Healing template to preview it. You will see how the effect transforms your video in real-time.
- Once you’re satisfied with how the effect looks, tap on the “Use” or “Apply” button to add the template to your video project.
5. Adjust the Effect (Optional)
- Effect Duration: You can adjust how long the healing effect lasts in your video. If you want the effect to appear only during a specific scene, you can shorten or lengthen the duration.
- Effect Intensity: Some templates allow you to adjust the strength of the effect. If you find the effect too strong or too subtle, you can fine-tune it to your liking.
- Clip Transitions: You can add or change transitions between clips to make the healing effect blend even more seamlessly throughout the video.
6. Preview and Fine-Tune
After applying the Healing template and making any necessary adjustments, tap on the “Play” button to preview your video. This will allow you to see the effect in action and make any final tweaks before finalizing your project.
7. Add Music or Text (Optional)
- You can enhance your video further by adding background music, text, or other effects. CapCut provides a variety of options to help you customize the video even more.
- Tap on the “Audio” tab to add music from CapCut’s library or import your own.
- Tap on the “Text” button to overlay text or captions on your video. This is useful if you want to convey a message or add extra context.
8. Export Your Video
Once you’re happy with the final result, tap on the “Export” button in the top right corner of the screen. You’ll be given options to select the video resolution and frame rate. Choose your preferred settings, then hit “Export” to save the video to your device.
Tips for Using the Healing CapCut Template
- Experiment with Different Footage
The Healing template works well with various types of footage. Experiment with slow-motion videos, fast-paced clips, and even time-lapses to see how the effect enhances each one.
- Use in Combination with Other Effects
While the Healing template on its own is powerful, you can combine it with other CapCut effects like transitions, filters, and text overlays for a more dynamic video.
- Mind the Music and Sound Effects
Background music plays a vital role in setting the tone of your video. Choose music that complements the dreamy, smooth effect of the Healing template for the best results.
- Maintain a Natural Flow
The Healing template is meant to add smoothness and polish, so avoid over-editing your video with too many different effects. A simple, cohesive look often works best.
- Watch Tutorials
If you’re new to CapCut or video editing in general, there are plenty of tutorials available online that can guide you through the process of using templates and effects effectively.
Common Mistakes to Avoid
- Overusing the Effect
While it’s tempting to use the Healing template on every part of your video, doing so can make it lose its impact. Use it strategically to highlight key moments in your video.
- Not Matching the Music with the Effect
If the music doesn’t match the calming, smooth vibe of the Healing template, it can create a jarring contrast. Always ensure the music complements the video effect.
- Neglecting the Export Settings
If you don’t choose the correct export settings, your video might lose quality. Always select a high resolution and the appropriate frame rate for your final project.
Conclusion
The Healing CapCut template is a fantastic tool for creating stunning video effects without requiring advanced editing skills. It’s perfect for those who want to add a professional touch to their videos quickly and easily. By following the steps outlined in this guide, you can start using the Healing template in no time, bringing your video projects to life with smooth, cinematic effects.